


How to Hang an Acrylic Photo Frame
Mark once, drill once, hang it level. A calm, step-by-step method.
- Tools you need before you start
- Marking, drilling and wall plugs, step by step
- Spacing for pairs and gallery walls
- Two-person lift and safety for large panels
From ₹453 · 3mm & 5mm acrylic
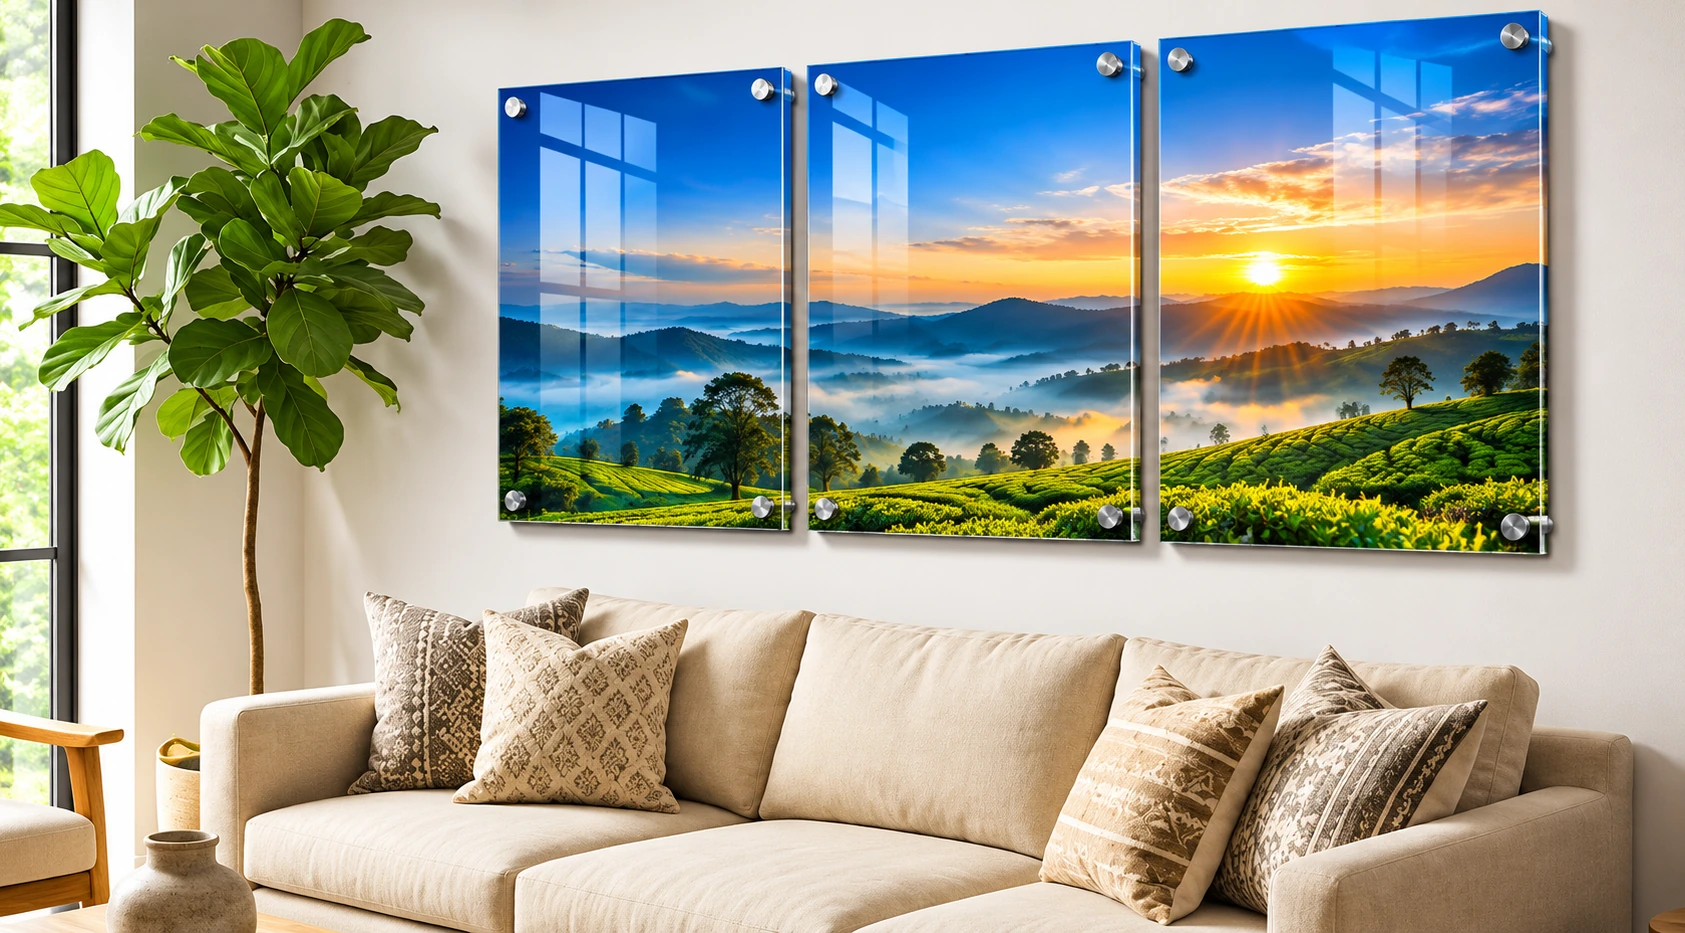
Hanging an acrylic panel is not hard, but it is less forgiving than hanging a poster. You cannot nudge it after drilling, and a hole in the wrong place is permanent. The good news is that a paper template and a spirit level remove almost all of the risk. Set aside thirty minutes and do it in the order below.
Eligible sizes from 12×18 in and above come with stainless-steel studs. These screw into wall plugs that you fit into drilled holes, and the panel then rests on the studs. You will need a drill with the right bit for your wall, a pencil, a measuring tape, a spirit level and a screwdriver. Use masonry bits for brick and concrete, and the plugs supplied or ones rated for the weight of your panel. If your wall is hollow or plaster over wood, use fixings made for it.
Before you start, decide on position and spacing. For a single piece, the centre is usually near eye level. For help choosing the size, see the size guide. For a look where the panel stands off the wall, read about floating acrylic. Then follow the steps and check the level at every stage rather than only at the end. Keep the protective film on the panel until it is on the wall, and clear a safe, soft surface where you can rest it while you work.
Mark the wall with a paper template before you pick up the drill
Cut a sheet of newspaper to the exact size of the panel, tape it to the wall and move it until the position looks right. Place a spirit level on top and mark the stud positions through the paper, using the hole locations on the back of your panel. Measure the distance between marks twice. Checking before drilling is cheaper than patching afterwards.
Check what is behind the wall. Avoid areas above switch boards, along the line of wiring, or close to bathroom and kitchen plumbing. A cable detector is cheap and worth borrowing if you live in an older building. In monsoon, test brick walls for dampness. Fresh paint over damp plaster can flake, which loosens plugs over time.
Drill, fix, level and lift, including the two-person rule for big panels
Drill to the depth of the plug, keeping the drill square to the wall. Tap the plugs in, screw the studs partway, then hold the panel up and check alignment before tightening. A 5mm panel at 24×36 in or larger is heavy and awkward, so ask a second person to hold one side while you secure the studs. Never lift a large panel by one corner.
Keep the protective film on the acrylic until the panel is on the wall, then peel it slowly. Tighten the studs just until snug, because over-tightening can stress the acrylic around the hole. Finish by wiping the surface with a clean, dry microfibre cloth. If the panel is not level, loosen the studs and adjust rather than forcing it.
Acrylic Frame Inspiration
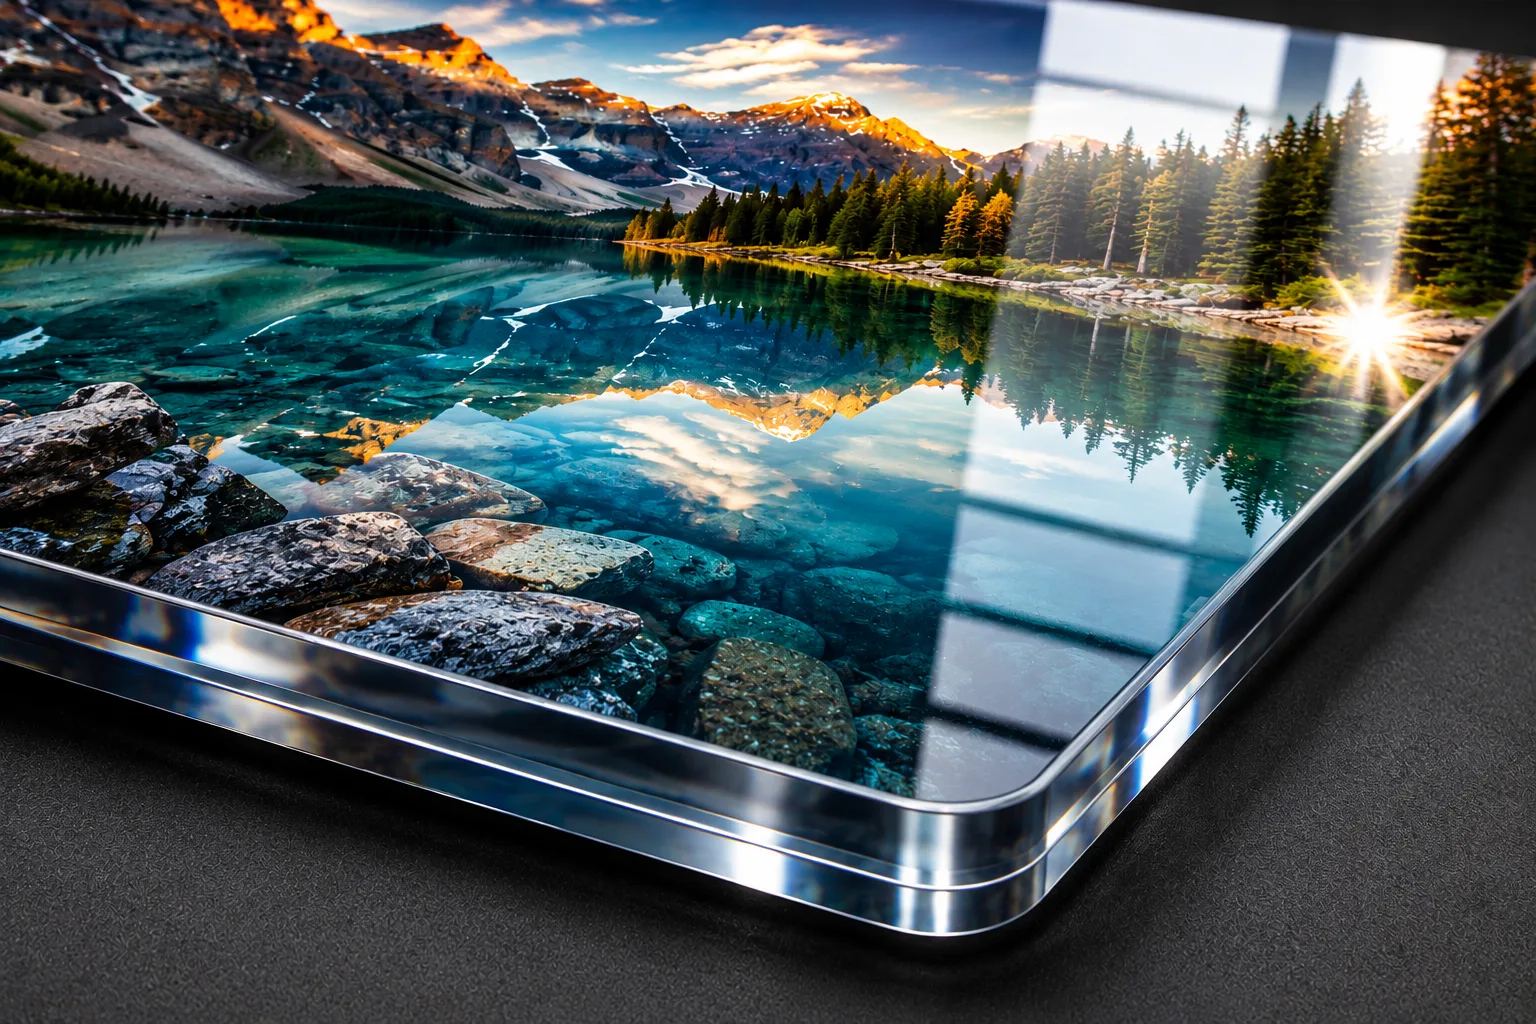
Real PrintPosters acrylic prints — glossy finish, 12-colour HD, 3mm & 5mm options.
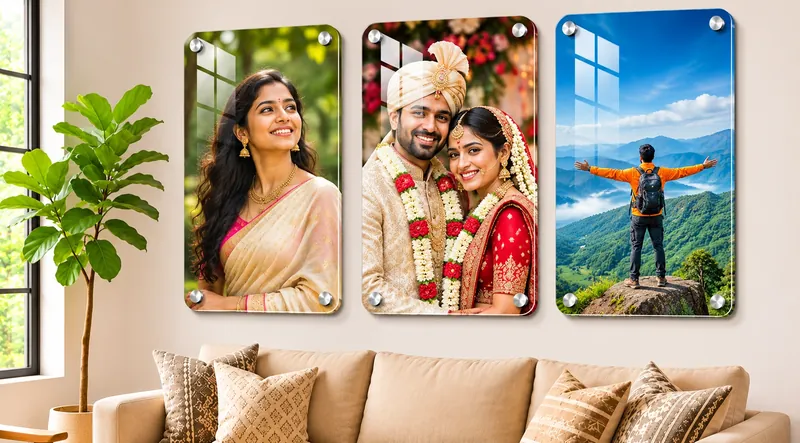
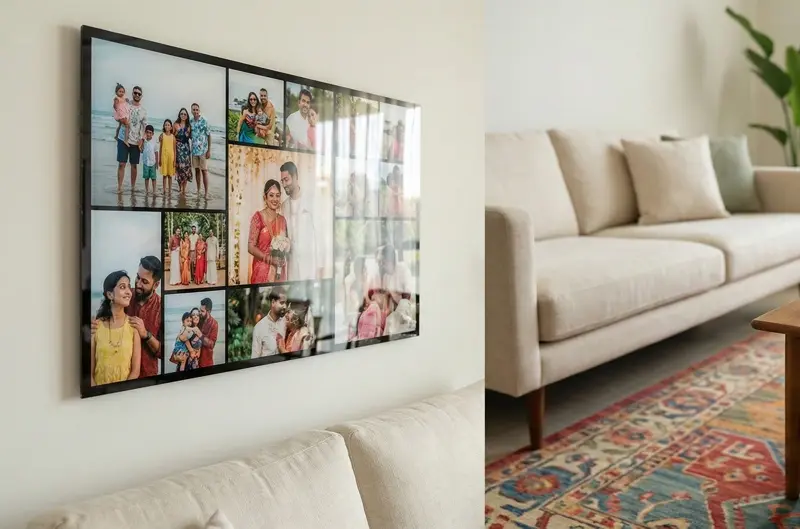
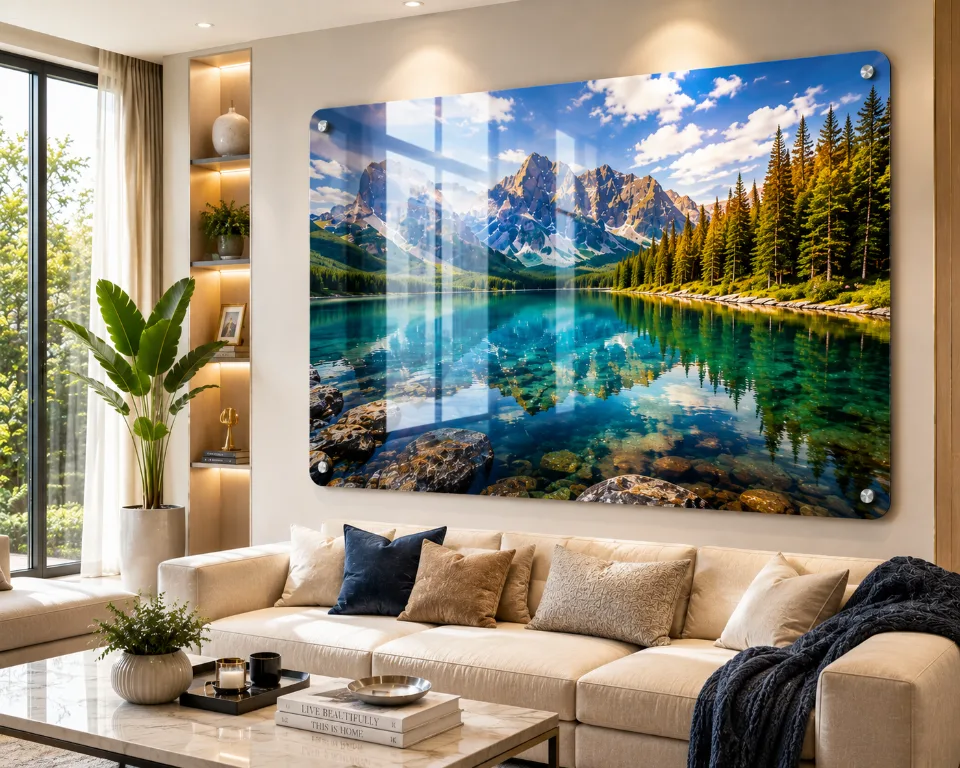
Popular Photo Ideas & Use Cases
Best For
- You are hanging a 12×18 in or larger panel with the supplied studs
- You are fixing a panel on brick, concrete or plastered walls
- You are placing two or three matching panels together
- You are installing a large 5mm panel and need to plan the lift
- You live in a rented flat and want to limit wall damage
Photo Ideas
- Tape a paper template of the exact size on the wall first
- Keep a spirit level or a phone level app ready
- Check the wall for wiring or pipes with a detector
- Count your studs and plugs before you begin
- Test one plug in a hidden spot to see how the wall responds
- Keep a damp cloth and a dry microfibre cloth nearby
Best Places to Display
Quick reference: fixing advice by size
Studs are included on eligible sizes from 12×18 in. Smaller panels are made for a shelf or table.
| Size | Best For |
|---|---|
| Under 12×18" | Place on a shelf or table. No wall fixing is needed. |
| 12×18" to 16×24" | Four studs on plugs. One person can hang it with a level. |
| 18×24" to 20×30" | Four studs, a firm wall and a spare pair of hands for the final step. |
| 24×36" to 30×40" | Two people lift. Use plugs rated for the weight, in a solid wall. |
| 36×48" and above | Two or more people. Mark carefully, and consider the wall load. |
| Hollow or drywall | Use fixings designed for hollow walls and check the weight rating. |
Live 3mm & 5mm pricing on acrylic photo frame product page.
Interior & Placement Tips
- Do use the plug type that matches your wall. Brick, concrete and hollow board each need different fixings.
- Do leave 2 to 3 inches between panels in a pair and measure from the same top line.
- Do not hang a heavy panel on a single nail, adhesive hook or tape.
Product Specifications
How It Works
-
1
Upload Photo
Upload from phone or computer — JPEG, PNG, and more.
-
2
Quality Check
Automatic resolution and blur detection before checkout.
-
3
Live Preview
Preview your acrylic frame in 3D before you order.
-
4
12-Colour Print
HD printing on premium 3mm or 5mm acrylic.
-
5
Inspection
Every frame checked for colour accuracy and edge finish.
-
6
Secure Packing
5-layer protective packaging for safe transit.
-
7
Delivery
Pan-India shipping to your doorstep, free above ₹300.
Preview Your Photo on the Wall
Upload your image on our acrylic product page and use live 3D preview to see how your how to hang an acrylic photo frame looks before you order. Our quality checker recommends the best size from your photo resolution.
- Room visualization
- AI size recommendation
- 3mm & 5mm options
Customer Reviews
Rated 4.8/5 (800+ Google reviews) · Verified acrylic photo frame orders
★★★★★"The acrylic photo frame quality is outstanding. The print looks very sharp and the glossy finish gives a premium feel."
★★★★★"I ordered an acrylic photo frame for my living room and it looks beautiful. Colors are vibrant and the clarity is amazing."
Frequently Asked Questions
Should I choose 3mm or 5mm acrylic?
3mm is lightweight and goes up to 20×30 inches. 5mm has a thicker feel and is the choice for larger displays, up to 48×96 inches.
How long does an acrylic frame take to arrive?
Production is typically 1–3 working days after payment and file check. After dispatch, metro locations usually take 2–5 days and other locations 4–8 days.
What photo resolution do I need?
Higher resolution gives a sharper print, especially at large sizes. The upload step checks your photo and warns you if it is too small for the size you picked.
Does the frame come ready to hang?
Stainless-steel studs are included on eligible sizes from 12×18 inches and above. Smaller sizes suit a shelf or table.
Can I hang an acrylic frame without drilling?
Small panels can sit on a shelf or table with no drilling. For wall hanging, heavy acrylic needs proper fixings. Adhesive strips are not recommended for large panels, since humidity and weight can make them fail and a falling panel can scratch or crack.
What height should I hang it at?
Hang so the centre sits near eye level, about 57 inches from the floor. Above a sofa or bed, leave 6 to 8 inches between the bottom edge and the furniture. In rooms with low ceilings, hang slightly lower than you think.
What if my wall is hollow or made of gypsum board?
Standard plugs will not hold on hollow walls. Use fixings made for them, and look for the stud or timber behind the board if the panel is large. If you are unsure, a local carpenter can fit it quickly and safely.
How do I hang two panels so they look even?
Use one paper template for each and align the tops with a single level line. Leave a gap of 2 to 3 inches between them. Drill the left panel first, then measure from its edge to mark the second.
Is it safe to hang a large panel above a bed?
Yes, if it is fixed to a solid wall with the right plugs and the studs are tight. Avoid hanging above a bed on a partition or hollow wall. Check the fixings every few months, particularly after heavy monsoon humidity.
Why does my panel look tilted even after using a level?
If the studs are level but the panel looks off, the ceiling line or a skirting board may be uneven, which tricks the eye. Trust the spirit level. If the hole spacing is slightly off, slot the panel down on the studs and check from a distance.
Ready to Print Your Acrylic Photo Frame?
Upload your photo, preview in 3D, and order with free shipping above ₹300.

 Continue with Google
 Continue with Facebook