


Large Acrylic Photo Frame
From 30×40 inches to full-wall 48×96, with advice on splitting, fixing and carrying.
- 5mm acrylic recommended across the large range
- Single panels or multi-panel splits for big walls
- Resolution check before you commit to a big print
- Studs included, plus guidance on wall plugs
From ₹453 · 3mm & 5mm acrylic
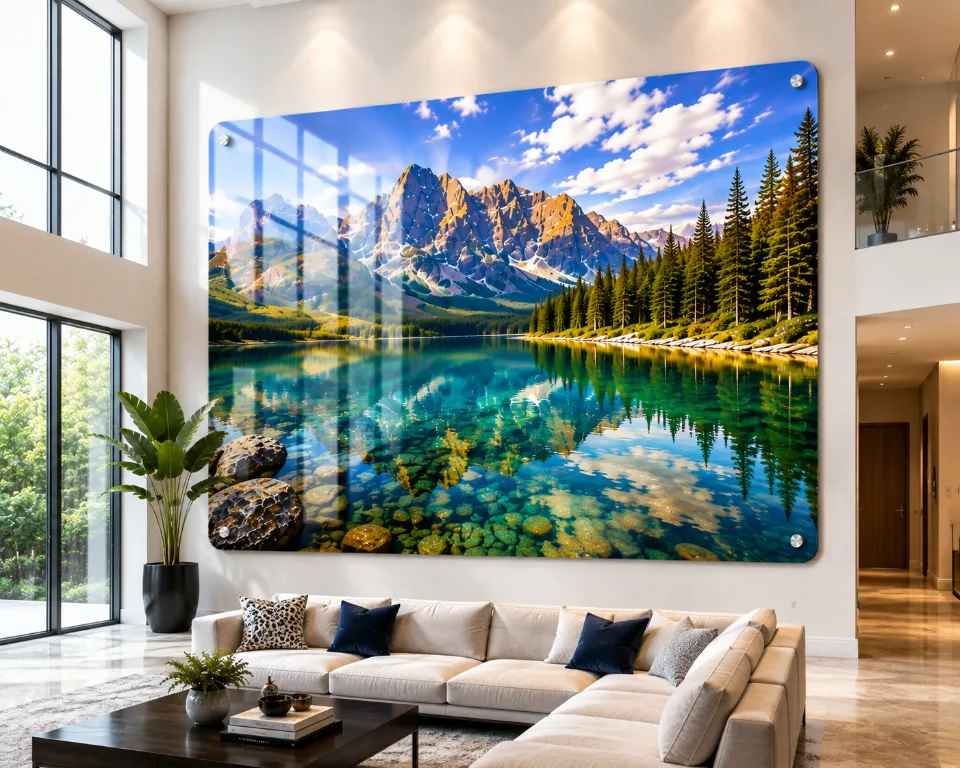
A large acrylic frame is a building decision as much as a decor one. The range starts at 30×40 inches, about 76 by 102 centimetres, and runs to 48×96 inches, which is four feet by eight, taller than most people. At that scale you are choosing a feature wall, and the practical questions come first: how heavy it is, where it will be carried, and how it is fixed. Good planning here saves a difficult afternoon later.
Start with weight. A 5mm acrylic sheet is lighter than glass, but a panel above 36×48 is still a two-person job, and 48×96 should have three. Carry it vertically, keep the protective film on until it is on the wall, and measure doorways and lift openings before delivery. For very large walls, consider splitting the photo across two or three panels with narrow gaps. Each panel is easier to carry, easier to fix, and the gaps give a gallery look.
Resolution scales with size. As guidance, about 100 pixels per inch can pass for a wall viewed from several metres, and 150 is a safer aim. That is 4500 × 6000 pixels for 30×40, and larger files for bigger panels. Check the original, not a compressed copy. Our upload check warns you when a photo is too small. For a more modest statement wall, 24×36 may be sufficient, and for unusual dimensions try custom size.
Weight, fixing and carrying a big acrylic panel safely
Before delivery, clear a path from the door to the wall and measure lift cars and staircase turns. Large panels travel in 5-layer packaging, but they are still awkward. Keep the panel upright, hold it by the edges with clean hands, and never carry it flat like a tray, because it can flex. Wearing gloves keeps fingerprints off the polished faces.
Fix to a solid wall. Brick and concrete take plugs well, while hollow partitions and gypsum boards need anchors rated for the panel weight, and sometimes a mounting batten. Use every stud supplied, level each one, and have a second person support the panel until the last stud is tight. Never rest the panel on a wall corner while you work, as unsupported edges are the most vulnerable.
When to split a photo into several panels
Panoramas, beach horizons and skylines suit two or three panels, because the eye follows the picture across the gaps. A gap of one to two inches looks deliberate. Keep faces away from the joins, as a split through a face looks awkward and distracting, and place the main subject in a single panel or the centre one.
Splits also help in practical terms. A lift that cannot take an eight foot panel will take three that are four feet each. Resolution is shared too, so each panel needs fewer pixels, though the whole image still needs enough. Order all panels together so the colour matches across the set, and compare them on the floor before hanging.
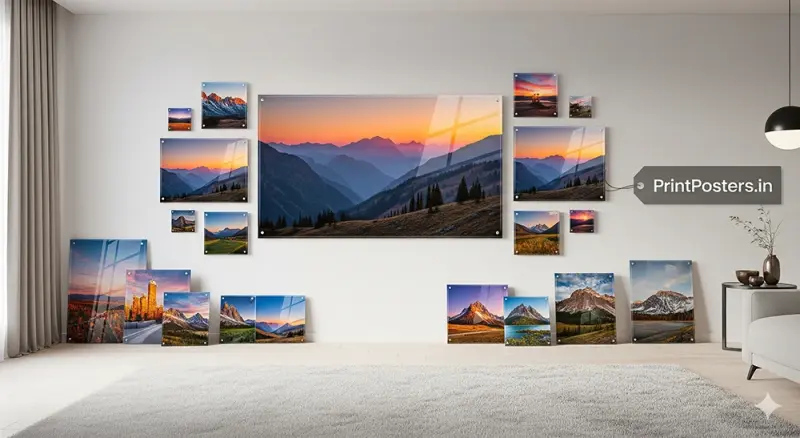
Acrylic Frame Inspiration
Real PrintPosters acrylic prints — glossy finish, 12-colour HD, 3mm & 5mm options.
Popular Photo Ideas & Use Cases
Best For
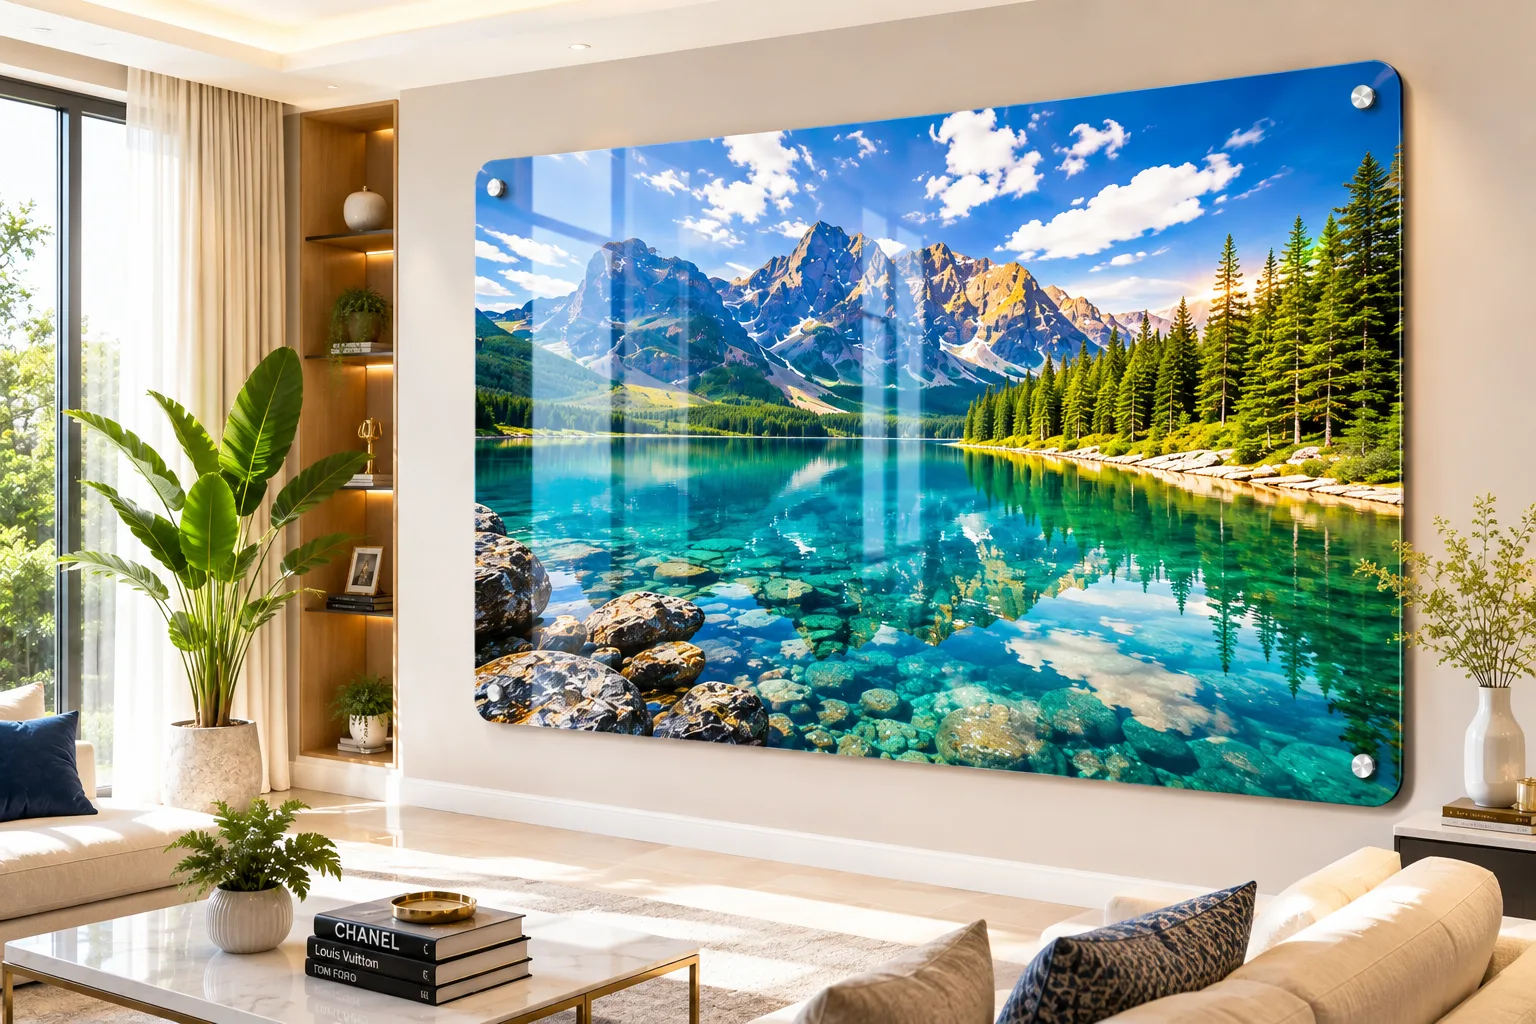
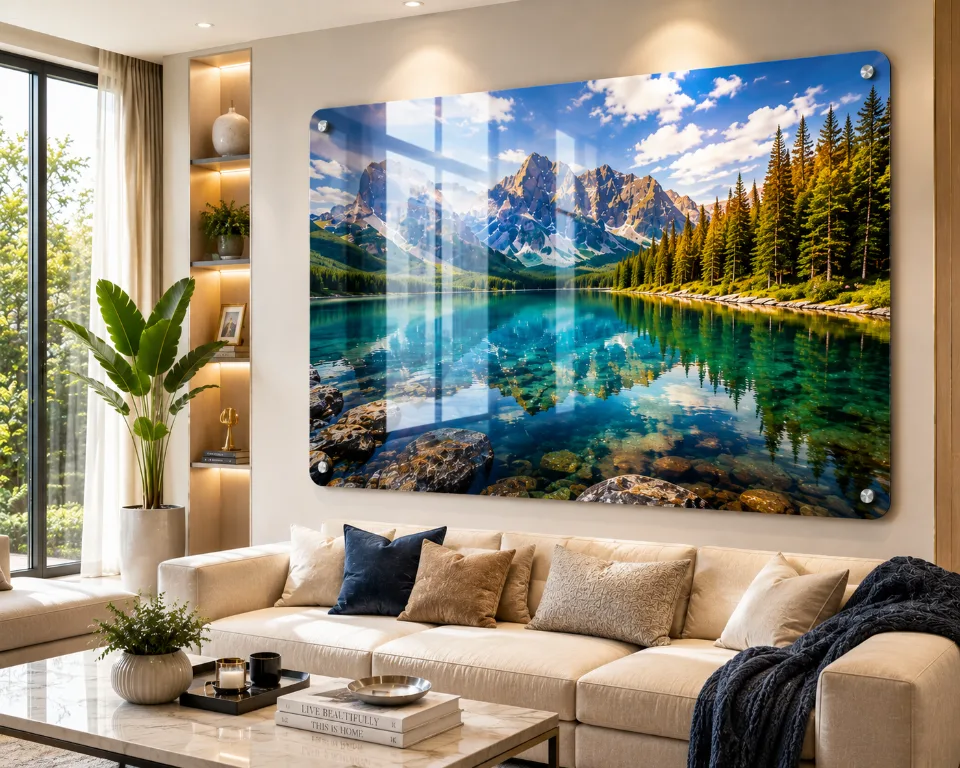
- A feature wall behind a sofa in a villa or large flat
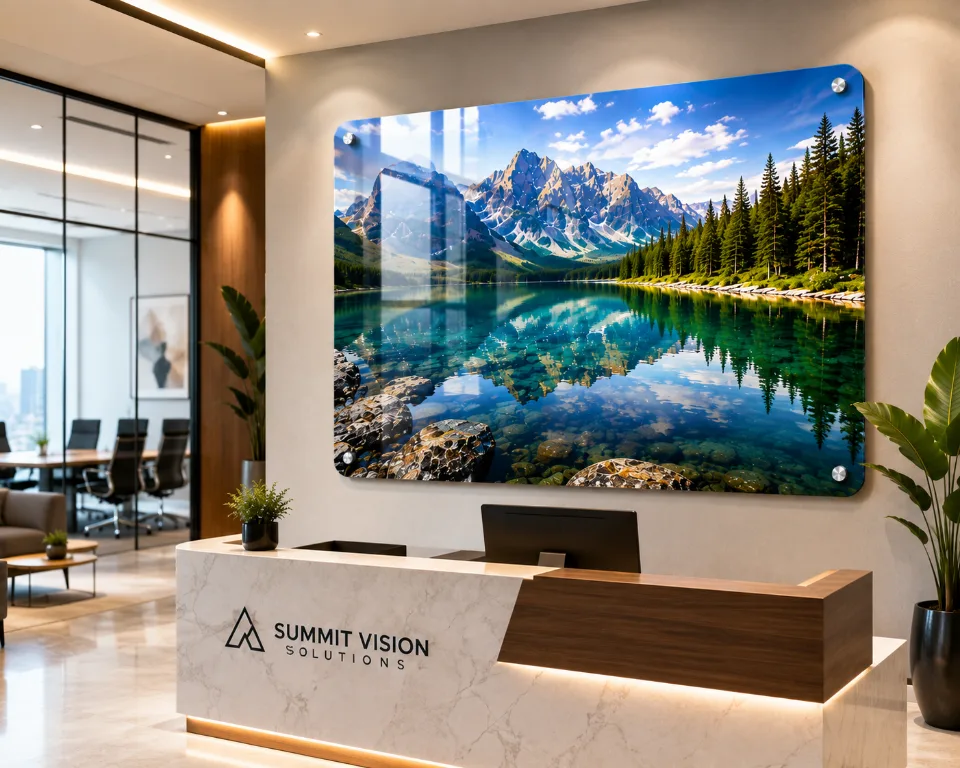
- A reception or lobby wall in a clinic or office
- A restaurant wall with a travel panorama
- A staircase wall in a double-height home
- A showroom or studio backdrop with a brand photograph
Photo Ideas
- A wide landscape split across three panels
- A cityscape taken from a terrace at dusk
- A full-length couple portrait on a 36×48 panel
- A hand-picked product photo from a professional shoot
- A black and white architectural study
- A group portrait taken on a DSLR at full resolution
Best Places to Display
Large sizes and what each one fills
Heights below are for portrait hanging; in landscape, swap width and height.
| Size | Best For |
|---|---|
| 30×40" | The entry large size, for a sofa about 4 feet wide, hung in 5mm. |
| 36×48" | A strong feature piece above a three-seater sofa 6 feet wide. |
| 48×60" | A major wall panel for a double-height room or reception counter. |
| 48×96" | Floor-to-ceiling statement, usually a single tall panel or a vertical split. |
| 2 × 30×40" | Two panels with a gap, for a wide wall that a single frame cannot cover. |
| 3 × 24×48" | A triptych of tall panels for staircases and corridors. |
Live 3mm & 5mm pricing on acrylic photo frame product page.
Interior & Placement Tips
- Mark the panel outline on the wall with masking tape for a few days before drilling.
- Leave six to eight inches above the sofa and two thirds of its width as coverage.
- For splits, keep gaps equal and use a level on each panel, not one line.
Product Specifications
How It Works
-
1
Upload Photo
Upload from phone or computer — JPEG, PNG, and more.
-
2
Quality Check
Automatic resolution and blur detection before checkout.
-
3
Live Preview
Preview your acrylic frame in 3D before you order.
-
4
12-Colour Print
HD printing on premium 3mm or 5mm acrylic.
-
5
Inspection
Every frame checked for colour accuracy and edge finish.
-
6
Secure Packing
5-layer protective packaging for safe transit.
-
7
Delivery
Pan-India shipping to your doorstep, free above ₹300.
Preview Your Photo on the Wall
Upload your image on our acrylic product page and use live 3D preview to see how your large acrylic photo frame looks before you order. Our quality checker recommends the best size from your photo resolution.
- Room visualization
- AI size recommendation
- 3mm & 5mm options
Customer Reviews
Rated 4.8/5 (800+ Google reviews) · Verified acrylic photo frame orders
★★★★★"Excellent print quality on acrylic. The edges are perfectly finished. PrintPosters.in did a great job with customization."
★★★★★"Crystal clear acrylic finish. The print looks premium and glossy. Worth every rupee."
Frequently Asked Questions
Should I choose 3mm or 5mm acrylic?
3mm is lightweight and goes up to 20×30 inches. 5mm has a thicker feel and is the choice for larger displays, up to 48×96 inches.
How long does an acrylic frame take to arrive?
Production is typically 1–3 working days after payment and file check. After dispatch, metro locations usually take 2–5 days and other locations 4–8 days.
What photo resolution do I need?
Higher resolution gives a sharper print, especially at large sizes. The upload step checks your photo and warns you if it is too small for the size you picked.
Does the frame come ready to hang?
Stainless-steel studs are included on eligible sizes from 12×18 inches and above. Smaller sizes suit a shelf or table.
What is the largest acrylic frame I can order?
The maximum size is 48×96 inches in 5mm acrylic. If your wall is wider than that, we recommend splitting the picture over several panels. Panels can be ordered in the same session so that the colour and print remain consistent across the set.
Is 5mm required for large frames?
We recommend 5mm for all large frames. The 3mm option stops at 20×30 inches, and 5mm is the thickness that covers the large range, giving rigidity and a proper edge. Large flat panels in thinner material can look wavy in strong light.
How heavy are large acrylic frames?
They are lighter than the equivalent glass but still heavy enough to need two people for anything above 30×40. A 48×96 panel needs three. Plan the route from the door, and use plugs or anchors rated for your wall.
Can a normal phone photo fill a 48×60 frame?
Rarely. A 12 megapixel phone photo has about 4000 × 3000 pixels, which is only around 60 pixels per inch at 48×60. A 48 or 50 megapixel image or a DSLR file is much better. The upload check will tell you before you pay.
How do I split a panorama into panels?
Choose the number of panels, then crop so that no face or key object lies on a join. Upload the full image and set each panel in the preview. Keep the gaps equal on the wall, usually one to two inches.
Will the lift fit my panel?
Measure the lift door and the diagonal depth, and also the staircase turns. If a 48×96 panel cannot enter, split it into two or three panels. Delivery partners can only advise on access, so do check before ordering.
Ready to Print Your Acrylic Photo Frame?
Upload your photo, preview in 3D, and order with free shipping above ₹300.

 Continue with Google
 Continue with Facebook